
Perfection is a matter of practice and perseverance, and not expecting true perfection. Be as perfect as you can be.
A number of years ago, I went for broke and bought Adobe Creative Suite which includes PhotoShop. I confess that the only thing I bothered to learn was how to change the size of an image. The program is so complicated that it boggled my mind. And that is what I kept telling my son who is a self-taught PS master. Couldn't he fix the white background for me?
He did fix several photos while complaining that it wasn't that hard, and that I could learn to do if I would just listen. Meh...
I finally gave in, and he's right -it's not that hard.
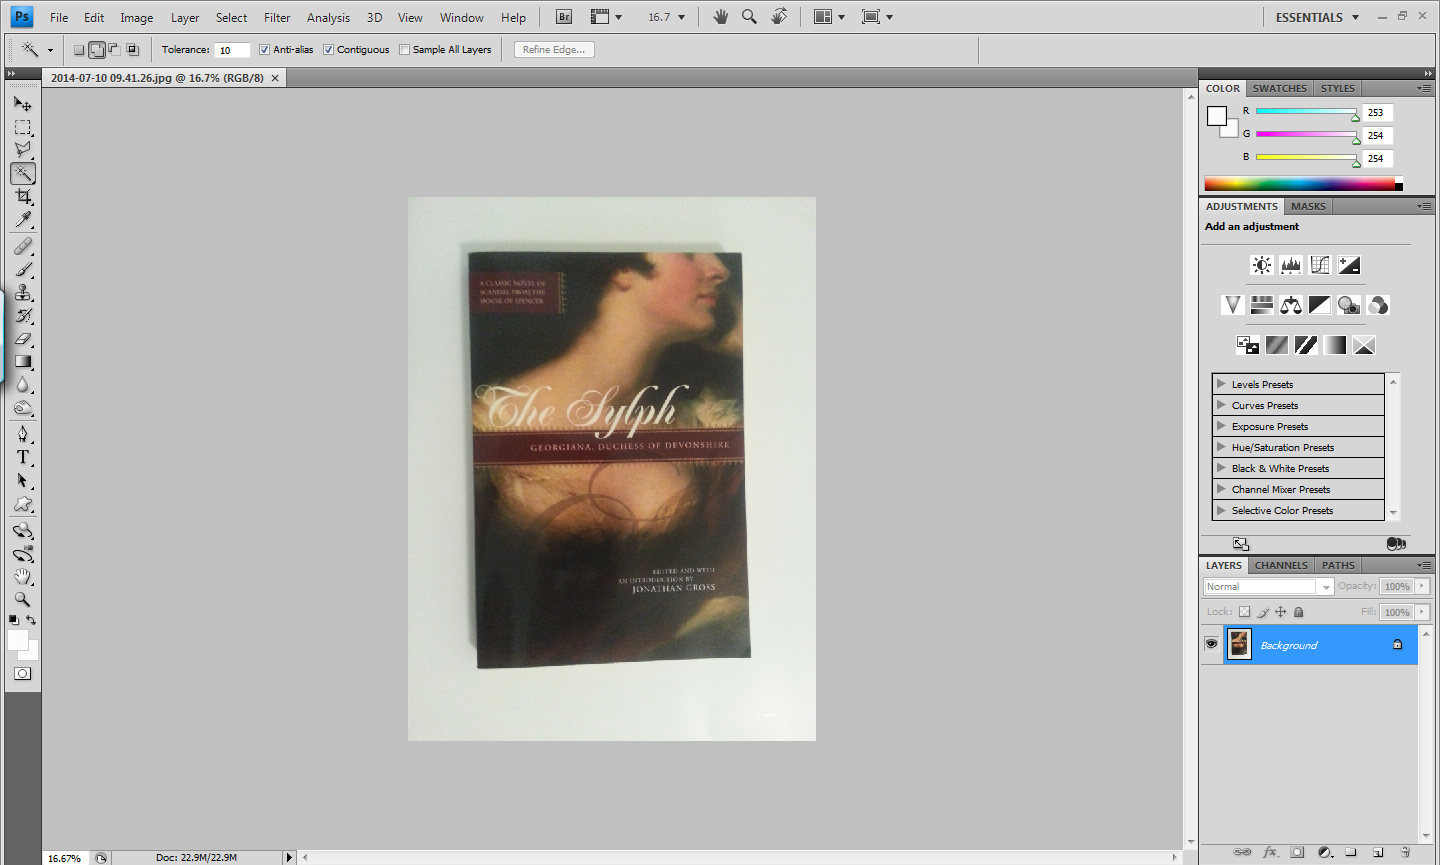 First of all, you need to take the best picture you can. Light is key in photography. I'm far from being a great photographer. In fact, I use my cell phone to take my pictures for newly created listings on Amazon. I have learned a couple of tricks. I take pictures in my kitchen (during daylight hours) because it has the brightest light when I turn on all of the lights. I use a white poster board for the background unless the item is white, then I use a blue or green poster board. Once I'm satisfied with the picture, I open it up in PS on my computer. (I just randomly grabbed a book in my house for this example. I didn't take a lot of time trying to get a great photo. This is for white background demonstration purposes only.)
 There are two tools that I use to create a white background. I don't know what they are actually called. I call them the Magic Wand and the Coat Hanger.
I start by clicking on the Magic Wand, then I click into the space that needs to be white. Sometimes it will magically make fabulous straight lines all the way around the object, and sometimes I have to keep clicking throughout the space until the lines are clean.

 Keep clicking on the fuzzy black lines until it's nice and clean all the way around.
Next, hit the DELETE key. Your white background is there, but you're not done just yet. You have to click on SELECT, then click on DESELECT.

 If you're edges are clean and white, save your picture. You are done!
But wait...
Do you see the grayish yucky edge? Sometimes it doesn't come out clean and white around the edges. Click on the Coat Hanger tool, then click exactly on the edge of where you want to create a line. Drag the tool until you reach the end of the space, then drag it up, over, and around until you've created a blocked off area. Double click where the blocked off area connects. Hit the DELETE key. Click on SELECT, then click on DESELECT. Work in the same manner until you've cleaned up all of the gray, yucky area and your background is nice and white.

A number of years ago, I went for broke and bought Adobe Creative Suite which includes PhotoShop. I confess that the only thing I bothered to learn was how to change the size of an image. The program is so complicated that it boggled my mind. And that is what I kept telling my son who is a self-taught PS master. Couldn't he fix the white background for me?
He did fix several photos while complaining that it wasn't that hard, and that I could learn to do if I would just listen. Meh...
I finally gave in, and he's right -it's not that hard.
First of all, you need to take the best picture you can. Light is key in photography. I'm far from being a great photographer. In fact, I use my cell phone to take my pictures for newly created listings on Amazon. I have learned a couple of tricks. I take pictures in my kitchen (during daylight hours) because it has the brightest light when I turn on all of the lights. I use a white poster board for the background unless the item is white, then I use a blue or green poster board. Once I'm satisfied with the picture, I open it up in PS on my computer. (I just randomly grabbed a book in my house for this example. I didn't take a lot of time trying to get a great photo. This is for white background demonstration purposes only.)I start by clicking on the Magic Wand, then I click into the space that needs to be white. Sometimes it will magically make fabulous straight lines all the way around the object, and sometimes I have to keep clicking throughout the space until the lines are clean.
Next, hit the DELETE key. Your white background is there, but you're not done just yet. You have to click on SELECT, then click on DESELECT.
But wait...
Do you see the grayish yucky edge? Sometimes it doesn't come out clean and white around the edges. Click on the Coat Hanger tool, then click exactly on the edge of where you want to create a line. Drag the tool until you reach the end of the space, then drag it up, over, and around until you've created a blocked off area. Double click where the blocked off area connects. Hit the DELETE key. Click on SELECT, then click on DESELECT. Work in the same manner until you've cleaned up all of the gray, yucky area and your background is nice and white.
I confess that it took me a bit of practice, but once you get the hang of it, you'll find that you can fix your white background using PhotoShop in no time.
No comments:
Post a Comment
Hey there! I'd love to hear what you have to share about FBA, but please keep your spam out of it. Thanks for reading and commenting!